ServicesRV Parking Pads
Concrete RV Parking Pads in Placentia
An RV is heavy, and most of that weight sits on a few small tire patches and jacks. We build concrete pads thick enough to carry it, sloped so water runs off, and sized so the slide-outs and doors open without a fight.
What an RV Pad Is and When It Makes Sense
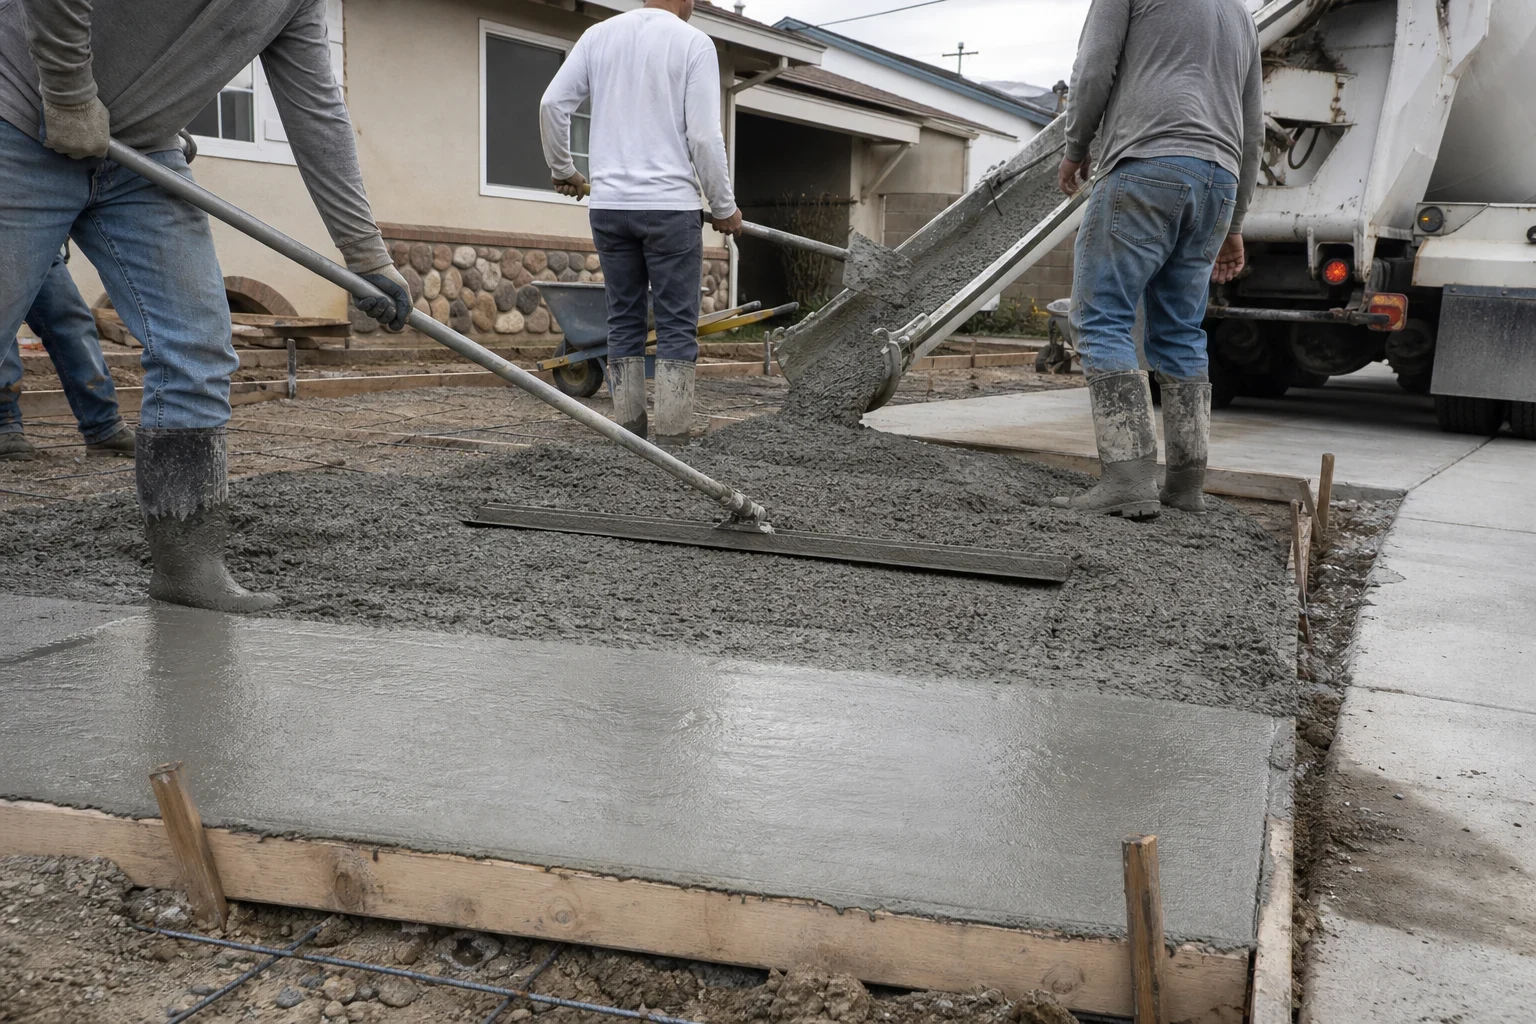
An RV pad is a slab built for one job: holding a trailer, motorhome, boat or work truck in the same spot week after week. It looks like a driveway, but it is built heavier. A standard walkway is about 4 inches thick. A pad for a loaded rig is usually 5 to 6 inches, with steel rebar instead of light wire mesh, over a gravel base that is compacted in layers.
It is the right call when your rig lives at home and the ground under it is gravel, dirt or grass. Those surfaces shift, hold water against the tires and let the jacks sink unevenly. Concrete gives you a flat, dry, solid place to park.
We will explain each choice in plain English before we pour: why a thicker slab, where the joints go, and what the base does. You decide with the facts in front of you.
What the Work Includes
- Measuring your rig and the space
- We measure the length of your RV, how far the slide-outs and awnings reach, and the path from the street. A pad that fits the parked rig but not the turn in is a pad you will regret.
- Digging out and grading
- We remove sod, soil or old gravel down to firm ground. Then we set the grade so water drains away from your home and off the pad, not toward the garage or the fence line.
- Compacted gravel base
- Crushed rock goes down in lifts and gets compacted with a plate or roller. Clay soil is common around here, and it swells when wet and shrinks when dry. A solid base helps the slab ride through that movement.
- Rebar and forms
- We tie a rebar grid and set it up on supports so it ends up in the middle of the slab, where it does its work. Forms are set straight and checked for slope.
- Pour, finish and joints
- We place the concrete, finish it with a broom texture for grip, and cut control joints. Joints give the slab a planned place to crack, so any cracking stays in a straight line instead of wandering across the pad.
- Cleanup
- We haul away the dirt, old gravel and form boards. You get the pad and a clean work area back.
Signs It Is Time for a Real Pad
Tires sinking into gravel
If you see ruts or the rig sits lower on one side after a wet spell, the ground is moving under it. That puts stress on the frame and makes leveling a chore every trip.
Parking on grass or dirt
Tires that sit on damp ground age faster. The lawn under them dies, and mud tracks onto the driveway every time you pull out.
Jacks that will not stay level
Stabilizer jacks can push into soft ground over time. You set them level in spring and find the rig leaning by summer.
Water pooling around the rig
Puddles under a parked RV mean the area does not drain. Standing water invites rust on the undercarriage and weeds around the tires.
The rig blocks your driveway
If your RV takes up the main driveway, a pad in the side yard or beside the drive frees up room for your cars.
What Moves the Price
Every pad is priced from its size and its site. Two pads with the same footprint can cost different amounts because of what sits under them and how we get in. Here is what we look at so you can see where the money goes.
Size and thickness
A longer, wider pad takes more concrete, more base rock and more rebar. Going from 4 to 6 inches thick adds material, and for a heavy rig it is worth it.
Access for equipment
A wide-open side yard lets the truck chute reach the forms. A narrow gate or a pad behind the house may mean a concrete pump or wheelbarrows, which adds labor.
What has to come out first
Grass and soil dig out easily. Old concrete, thick gravel or tree roots take more time and more hauling.
Grading and drainage
A flat lot needs little grading. A sloped yard may need more fill, more excavation or a small drain to move water away from your home.
Permits and curb work
Widening a driveway approach at the street usually needs city approval and adds work at the curb. We spell that out in the estimate so nothing shows up later.
How the Job Runs
- 1
Phone call and site visit
You call, tell us about the rig and where you want it. We come out, look at access, soil and drainage, and walk the space with you.
- 2
Written estimate
You get a written estimate that lists the size, thickness, reinforcement and base. If the city needs a permit, or a wider curb cut needs approval, we tell you up front and handle the paperwork.
- 3
Prep day
We dig out, grade, compact the base, set forms and tie rebar. If a permit applies, the inspection happens before the pour.
- 4
Pour day
The truck arrives, we place and finish the concrete, and cut the joints. Most pads are poured in a single day.
- 5
Curing and first use
You can walk on it in a day or two and drive a car on it in about a week. We usually say wait around 28 days before parking a loaded RV, since that is when concrete reaches its design strength.
RV Pad Questions
How thick should an RV pad be?
For most trailers and motorhomes we pour 5 to 6 inches over a compacted gravel base, with rebar. Lighter loads like a small boat trailer can sometimes go thinner. We will tell you what your rig needs and why.
How big should the pad be?
Start with the length of your rig plus a few feet on each end. For width, add room for slide-outs, the entry door and a place to walk around it. Many pads end up 12 to 14 feet wide, but we size yours from the actual rig.
Do I need a permit for an RV pad in Placentia?
It depends on the scope. Some flatwork does not need one, while changes at the curb or driveway approach usually do. We check with the city for your project and pull any permit it needs.
Can the pad go in my side yard?
Often, yes, if there is enough width and a clear path from the street. We check gate width, utility lines and drainage along the house. If you also want the rest of that strip finished, our concrete side yards page covers that work.
Will the concrete crack?
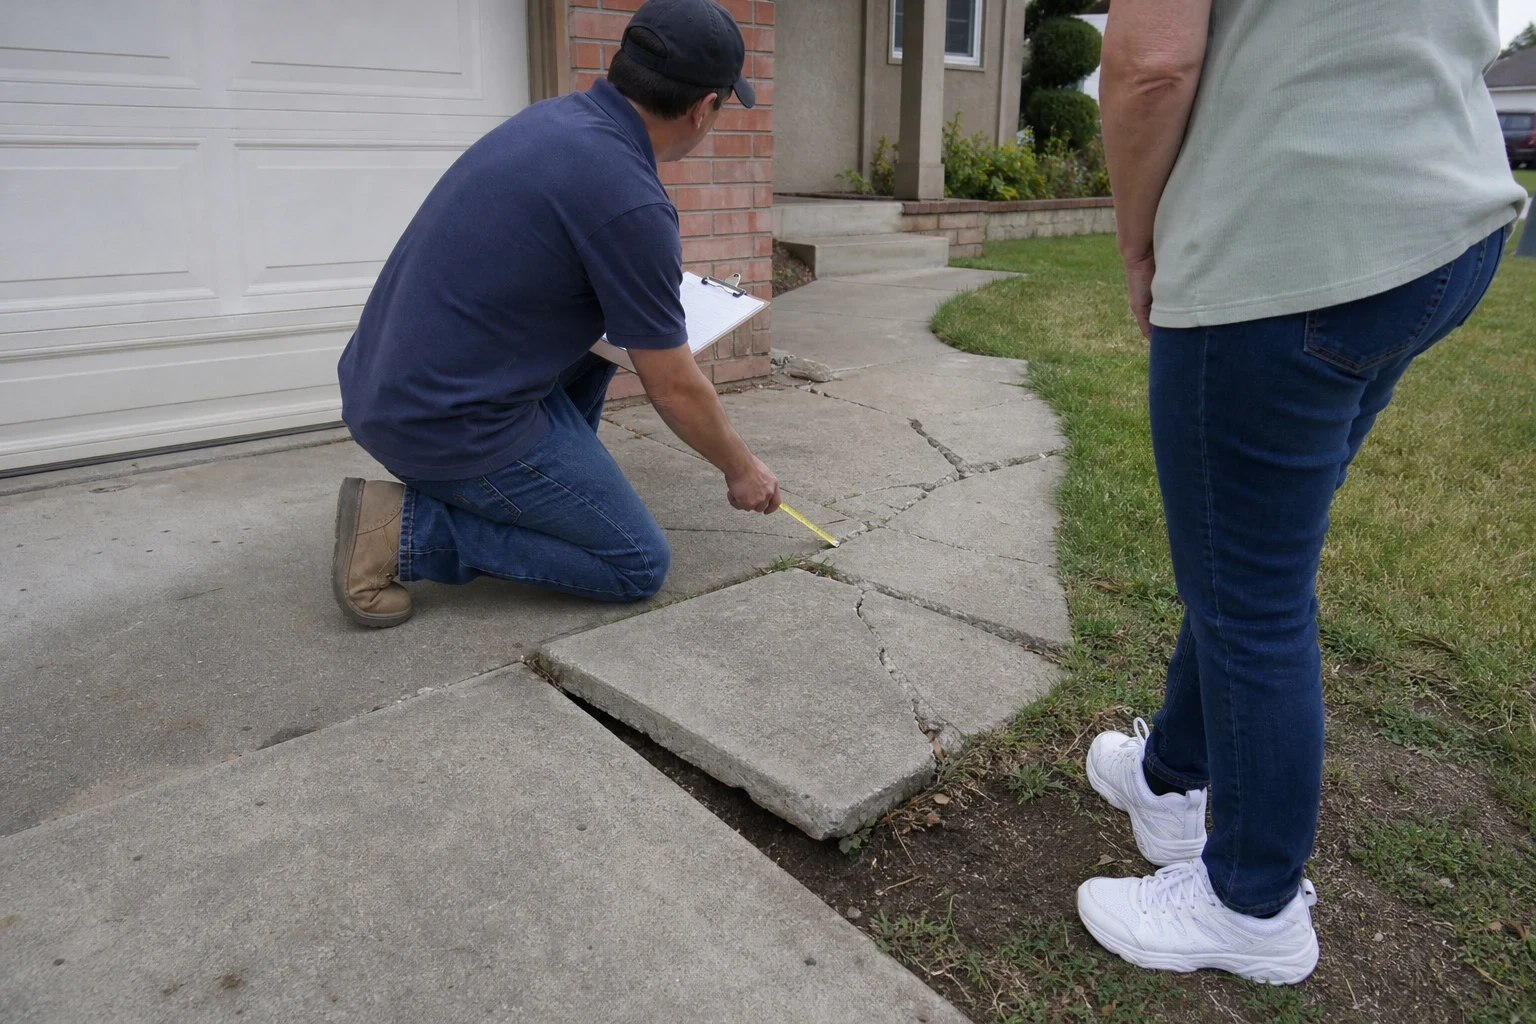
Concrete shrinks as it cures, so some hairline cracking is normal. Control joints, a good base and proper rebar keep cracks small and in planned lines. We explain where the joints will go before the pour.
Can you match my existing driveway?
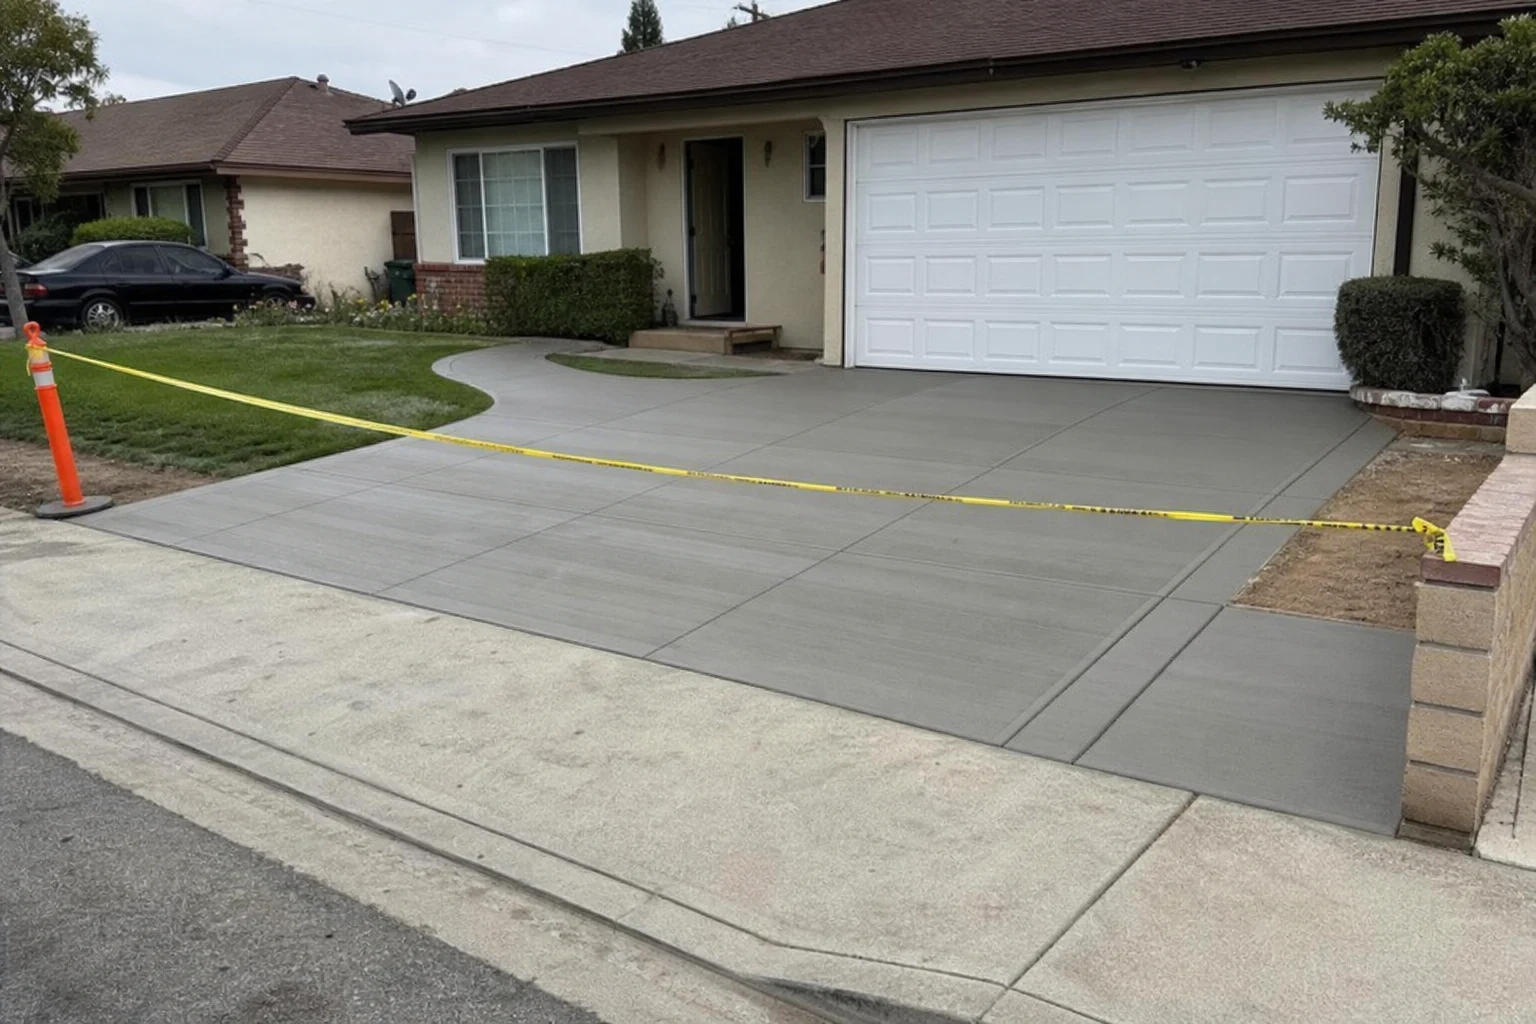
We can match the broom finish and line the pad up with your current drive. New concrete is lighter at first and darkens over time, so expect some color difference early on.
Ready to Get Your RV Off the Dirt?
Tell us about your rig and the space you have. We will walk the site, explain the options in plain terms and put the details in writing.